
You've loaded the Cruiser, packed the swags, and booked a campsite at the Watagans for the long weekend. You roll out of Mona Vale at dawn on the Friday. Then 80 kilometres from the nearest town, something breaks.
That's the situation pre-trip prep is designed to stop. A proper check-over before you leave isn't paranoid, it's the difference between a weekend on the tracks and a weekend waiting on a tow truck.
There are two layers of prep that matter. The owner checks you do the day before, and the 4x4 service a workshop carries out a few weeks out. They're not alternatives. Owner checks catch the obvious stuff. The workshop inspection is what catches the things that'll strand you.
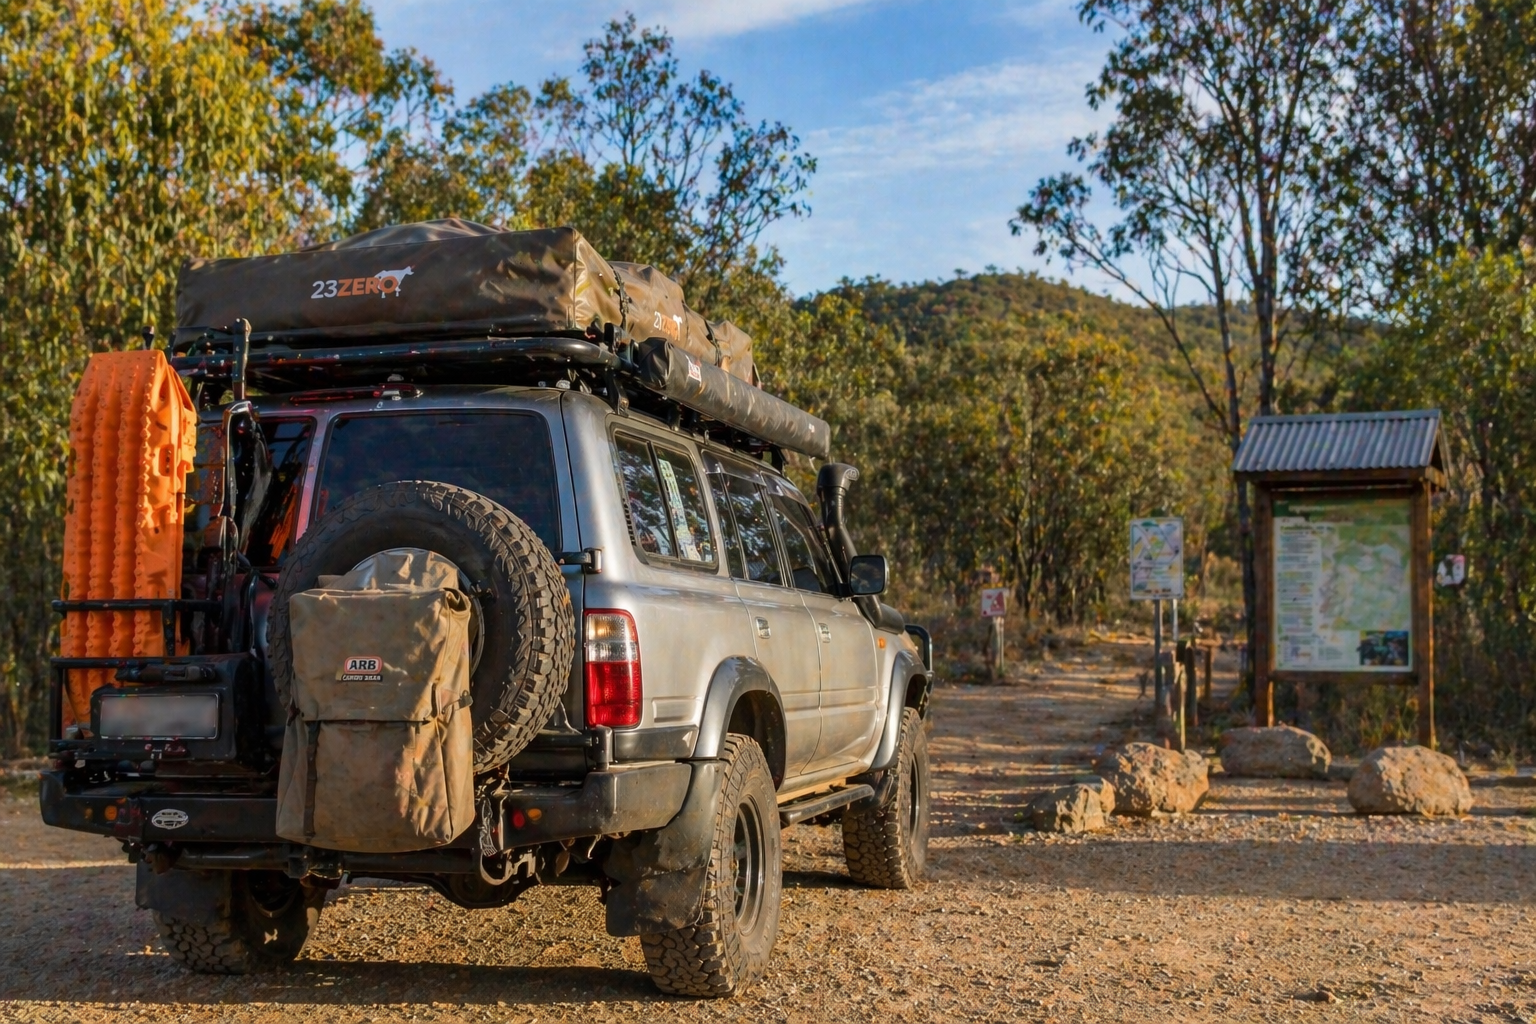
When to book your pre-trip inspection
Book it two to three weeks before you leave, not the day before.
This matters because pre-trip inspections often find things. A weeping diff seal, a marginal brake pad, a cooling system that's due. If the workshop spots something and the part has to be ordered, you want the lead time. Show up the day before the trip with a problem and you'll either go with the fault or not go at all.
Two to three weeks is also long enough that if the workshop picks up a tired wheel bearing or a soft brake hose, you can get it sorted and then put a few hundred kilometres on the vehicle before the trip. That's a final sanity check that everything's working as it should.
What your 4x4 mechanic checks in a pre-trip inspection
A pre-trip inspection on a 4WD is not the same as a standard logbook service. It's a targeted check of the systems that fail under load, under heat, and in conditions commuter cars never see. A workshop that specialises in 4WDs knows what to look for because loaded touring rigs wear differently to city runabouts.
- Brakes. Pad thickness, rotor condition, and brake fluid moisture content. Brake fluid is hygroscopic, which means it absorbs moisture over time. Moisture lowers the boiling point. On a long descent with a loaded 4WD, that's how you get brake fade. Fluid testing above 3 percent moisture is due for a flush.
- Suspension and bushes. Loaded 4WDs with bar work, roof racks, and full tanks punish shocks, bushes, and swaybar links. A tired shock that passes on an unloaded car can be on its last legs under touring weight. Worn bushes cause vague steering and uneven tyre wear. Both get picked up on a hoist.
- Differential and transfer case oils. Checked for level, condition, and leaks. Weeping seals matter more than most people realise. A small seep in the driveway is a bigger problem at the bottom of a water crossing. If water gets in and oil gets out, you've cooked a diff.
- Wheel bearings. Wheel bearings fail from heat, and heat builds under load. A bearing that feels fine on a short commute can fail 400 kilometres into a loaded run on a hot day. Workshops check them by lifting each wheel and feeling for play and roughness.
- Cooling system. Radiator condition, coolant strength, belts, and hoses. A boil-over on a fire trail in 35 degrees with no phone reception is one of the worst positions to be in. Coolant that's old, weak, or contaminated won't protect the engine when you need it to. Belts and hoses get checked for cracking and softening.
- Battery and charging system. Particularly important if you've got a dual battery setup running a fridge or camp lights. A marginal main battery can pass a quick test in the workshop but fail on the track after a night of fridge cycling. Alternator output gets tested under load.
- Tyres. Tread depth, sidewall condition, age, and pressure. The spare gets the same check. Tyres older than five or six years can have structural issues even with plenty of tread left, and sidewall damage from the last trip might not be visible without a proper look.
- Underbody check. Anything loose, leaking, or damaged from the last trip. Dragging a muffler over a rock ledge happens. You'd rather find the mount is cracked now than have it fall off on the Hunter Valley fire trails.
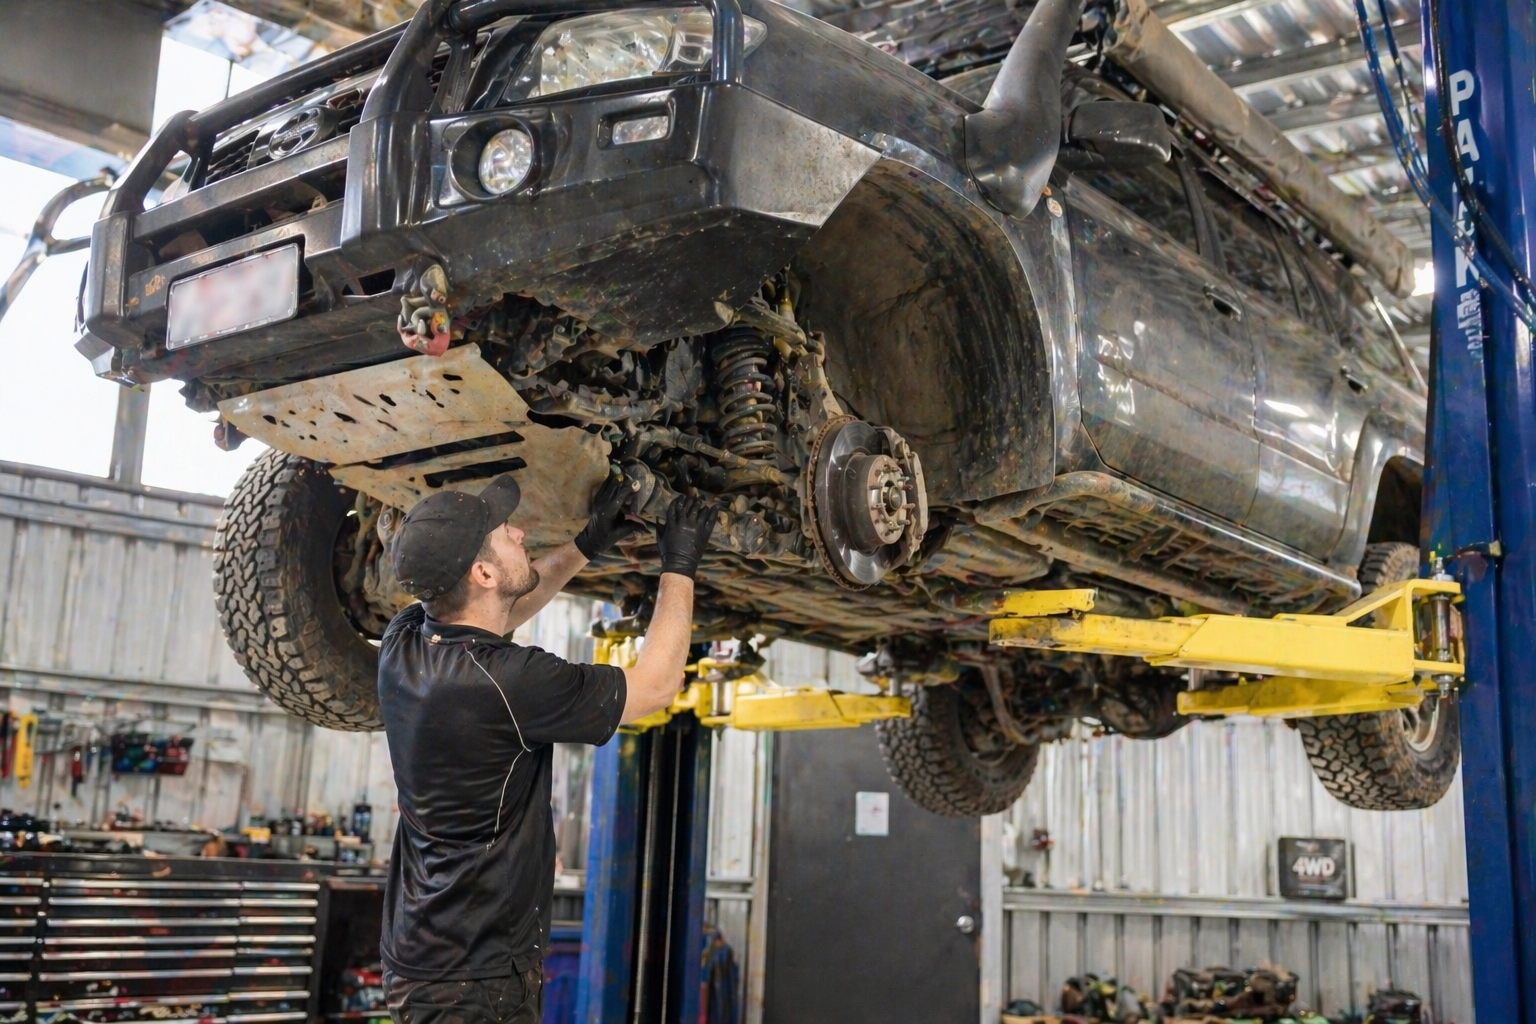
The table below maps what gets checked to why it matters when you're out.
| System | What gets checked | Why it matters on a trip |
|---|---|---|
| Brakes | Pad thickness, rotor condition, fluid moisture | Brake fade on long loaded descents |
| Suspension | Shocks, bushes, swaybar links | Loaded touring weight finds weak points |
| Differentials | Oil level and condition, seals | Water crossings kill diffs with weeping seals |
| Wheel bearings | Play, roughness, grease condition | Heat under load causes failure |
| Cooling | Coolant strength, belts, hoses | 35°C on a fire trail with no reception |
| Battery | Main and auxiliary condition, alternator output | Dual battery setups with fridges draw hard |
| Tyres | Tread, sidewall, age, spare condition | Blowouts and punctures far from help |
| Underbody | Mounts, leaks, damage from last trip | Damage that's already there gets worse |
What you check the day before
Workshop inspection done. Parts replaced if needed. Now you're a day out and the vehicle's loaded. This is the owner's checklist.
- Tyre pressures. Set to the pressure you'll run on the highway out, not your trail pressure. Check when the tyres are cold, first thing in the morning.
- Spare tyre. Pressure checked, tread and sidewall eyeballed. Make sure it's actually accessible with the vehicle loaded, not buried under the fridge.
- Fluids. Engine oil, coolant, washer fluid, power steering. Any low level is a flag.
- Lights and indicators. Including brake lights, reverse lights, and trailer connections if you're towing.
- Jack and wheel brace. Know where they are and that they work. A jack that won't wind up at the side of the Putty Road is not useful.
- Wheel nut torque. Especially if the tyres were rotated or changed recently.
None of these take long. Ten minutes, most of it walking around the vehicle with your eyes open.
Recovery gear and comms
This article isn't a full recovery gear guide, but the basics matter enough to flag.
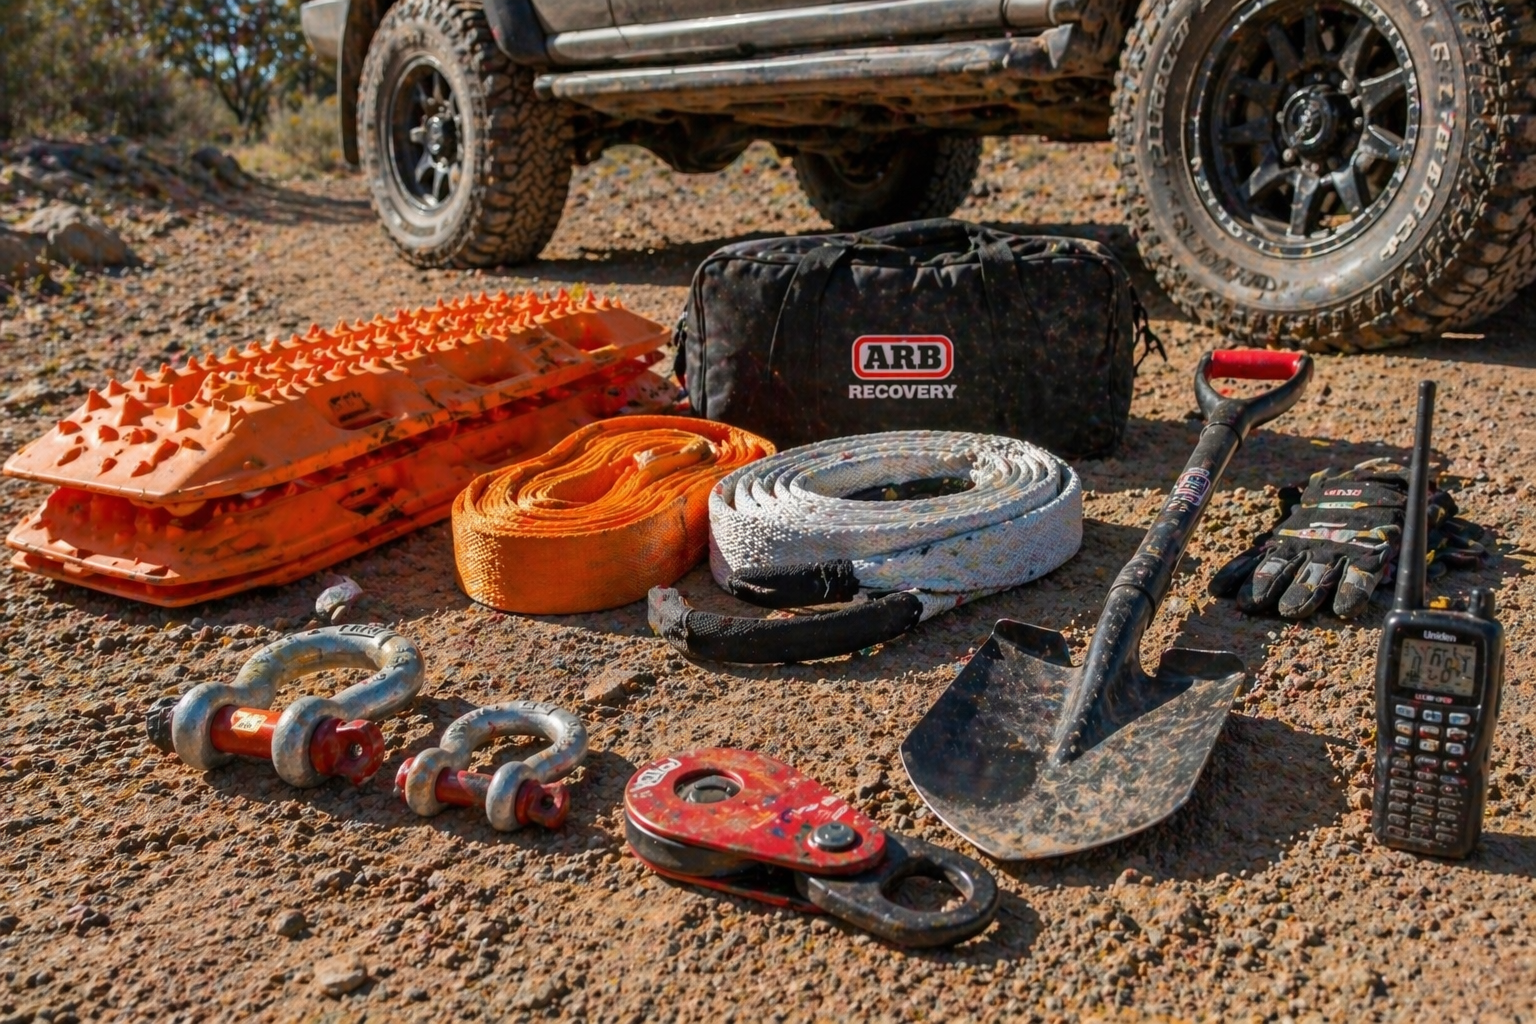
You want recovery tracks (Maxtrax or equivalent), a snatch strap with rated recovery points at both ends of the vehicle, a shovel, and a UHF radio for convoy comms. For anywhere out of mobile reception, a PLB or satellite communicator earns its keep the one time you need it.
The recovery point warning is worth repeating because it gets people hurt. Rated recovery points are not the same as the factory tie-down hooks on the chassis. Tie-downs are designed to hold a vehicle on a truck during transport. They're not rated for the shock load of a snatch recovery. Using them as recovery points is how people end up with a steel hook through a windscreen. Our bull bars and bash plates article covers rated points in more detail if you're planning to fit them before a trip.
Tyre pressures for different terrain
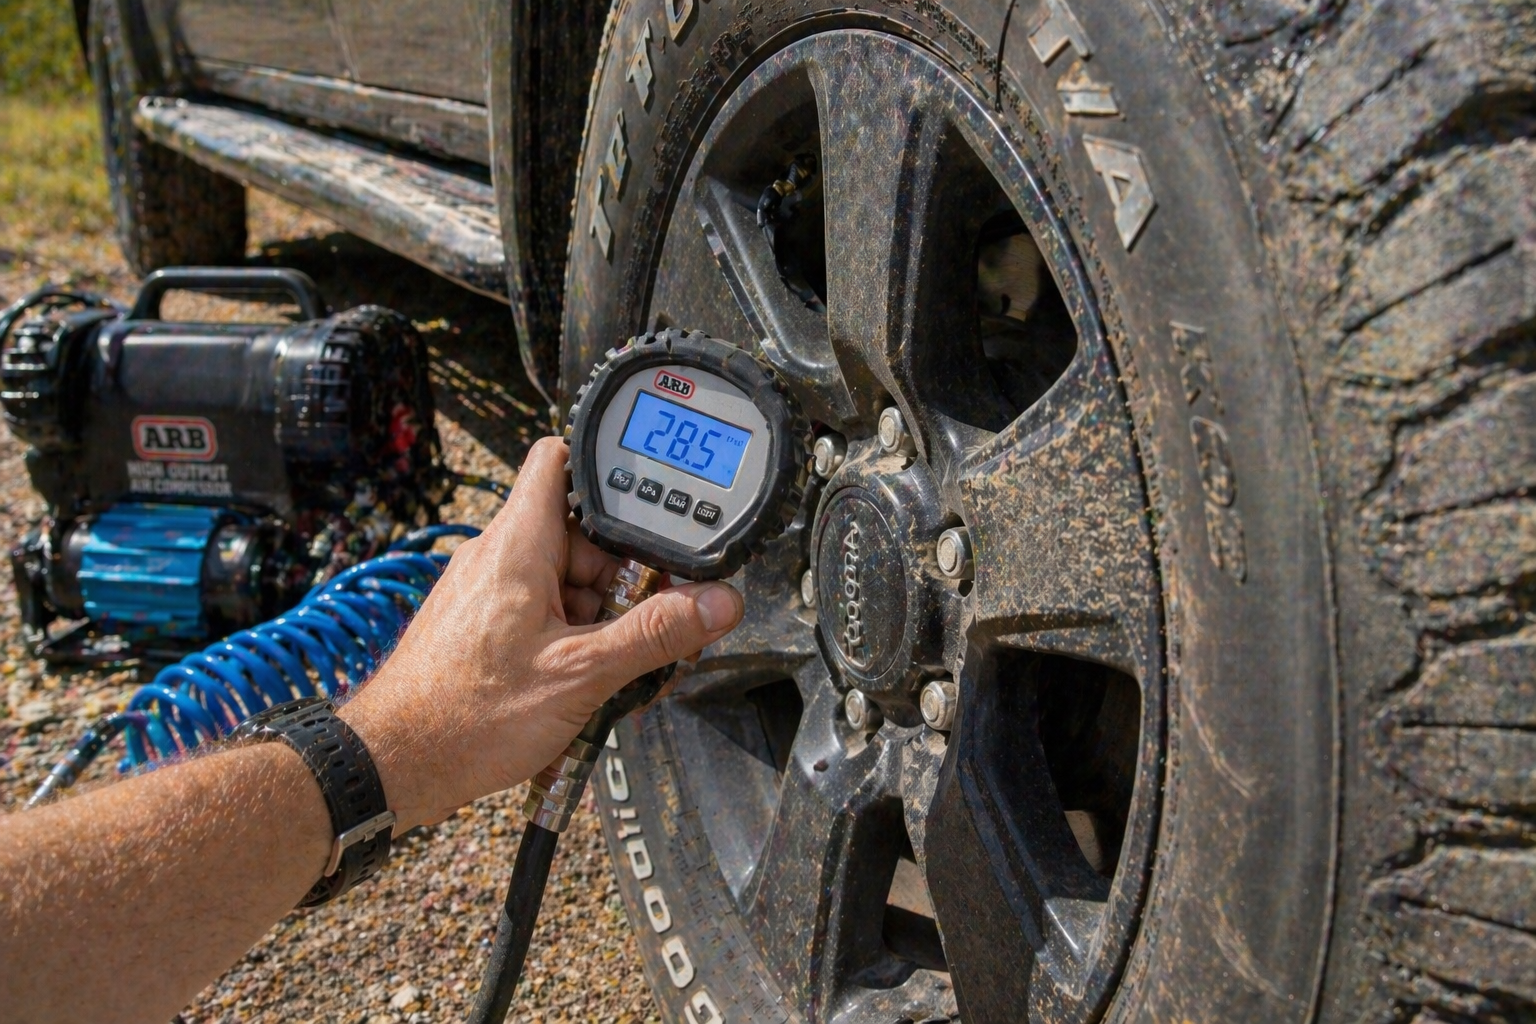
Your starting point is whatever pressure your vehicle's placard lists for a loaded highway run, usually 35 to 40 psi for most 4WDs. Drop from there as the surface changes.
- Highway out and back: Placard pressure, nudged up slightly if you're at GVM.
- Formed gravel and dirt roads: 26 to 32 psi. Improves ride, reduces chipping from sharp stones, gives you more grip on loose surfaces.
- Rocky tracks: 22 to 28 psi. More tyre flex over sharp edges, fewer punctures.
- Firm sand: 18 to 22 psi. Enough float to stay on top of the sand without bogging.
- Soft sand or bogged: 15 psi or lower, with the understanding that you drive slowly and carefully and reinflate the moment the surface firms up.
These are starting points, not absolutes. Vehicle weight, tyre construction, and load all move the numbers. A loaded tourer on light truck (LT) tyres runs different pressures to a half-empty Prado on passenger tyres. Don't drop below 15 psi on any terrain unless you're bogged and trying to get unstuck, and remember that low pressures need low speeds. A decent compressor and a proper gauge are non-negotiable kit.
The post-trip check
The bit most owners skip.
When you get home, wash the underbody properly. Salt, sand, and mud trapped against chassis rails and brake components is how corrosion starts. Check for new leaks at the diffs, transfer case, and engine sump. If you changed a tyre on the trip, re-torque the wheel nuts. If the trip involved water crossings or serious corrugations, book a post-trip check with your workshop.
Corrugations, in particular, shake things loose that pass every other inspection. Bolts, brackets, brake line clips. Catching that now saves a bigger bill later, and catches the kind of problem that ends the next trip before it starts.
Booking your pre-trip inspection
Xtreme 4x4 in Mona Vale handles pre-trip inspections across the range of 4WDs that come through the Northern Beaches. What a general workshop's standard service catches and what a 4x4 specialist inspects aren't the same thing, because loaded touring vehicles wear in ways commuter cars don't. If you've got a long weekend booked in the Watagans, Stockton, or anywhere else a few hours from the nearest town, book the inspection two to three weeks out. That's enough lead time to sort anything the inspection turns up without eating into your trip.