Here’s where most people go wrong: they start buying gear before they’ve thought about weight, sequence, or end goal. Get the order wrong and you’ll pay twice – fitting suspension before you know your loaded weight, running wiring that has to come out when the bull bar goes on, or blowing past your GVM limit before the build is half done.
At Xtreme 4x4, we build and modify 4WDs every week. This is the order we recommend – and why the sequence matters as much as the mods themselves.

The build order at a glance
The table below outlines the typical hardware requirements for each lift height on a modern IFS 4x4. Individual vehicles vary depending on platform, kit design, tyre size, and wheel offset, but the general pattern is consistent across common dual-cab platforms.
| # | Mod | Why this order | Rough budget |
|---|---|---|---|
| 1 | Tyres | Sets clearance, gearing, and tyre diameter for everything after | $1,500–$2,500 (set of 5) |
| 2 | Bar work | Adds the heavy weight that your suspension needs to be spec’d for | $2,700–$6,800 |
| 3 | Electrical | Wiring routes through engine bay – do it once the bar is fitted | $1,350–$4,100 |
| 4 | Suspension | Spring rate matched to real loaded weight with all mods fitted | $2,000–$5,000 |
| 5 | GVM upgrade | Certified against your actual final build weight | $3,300–$7,200 (inc. engineering) |
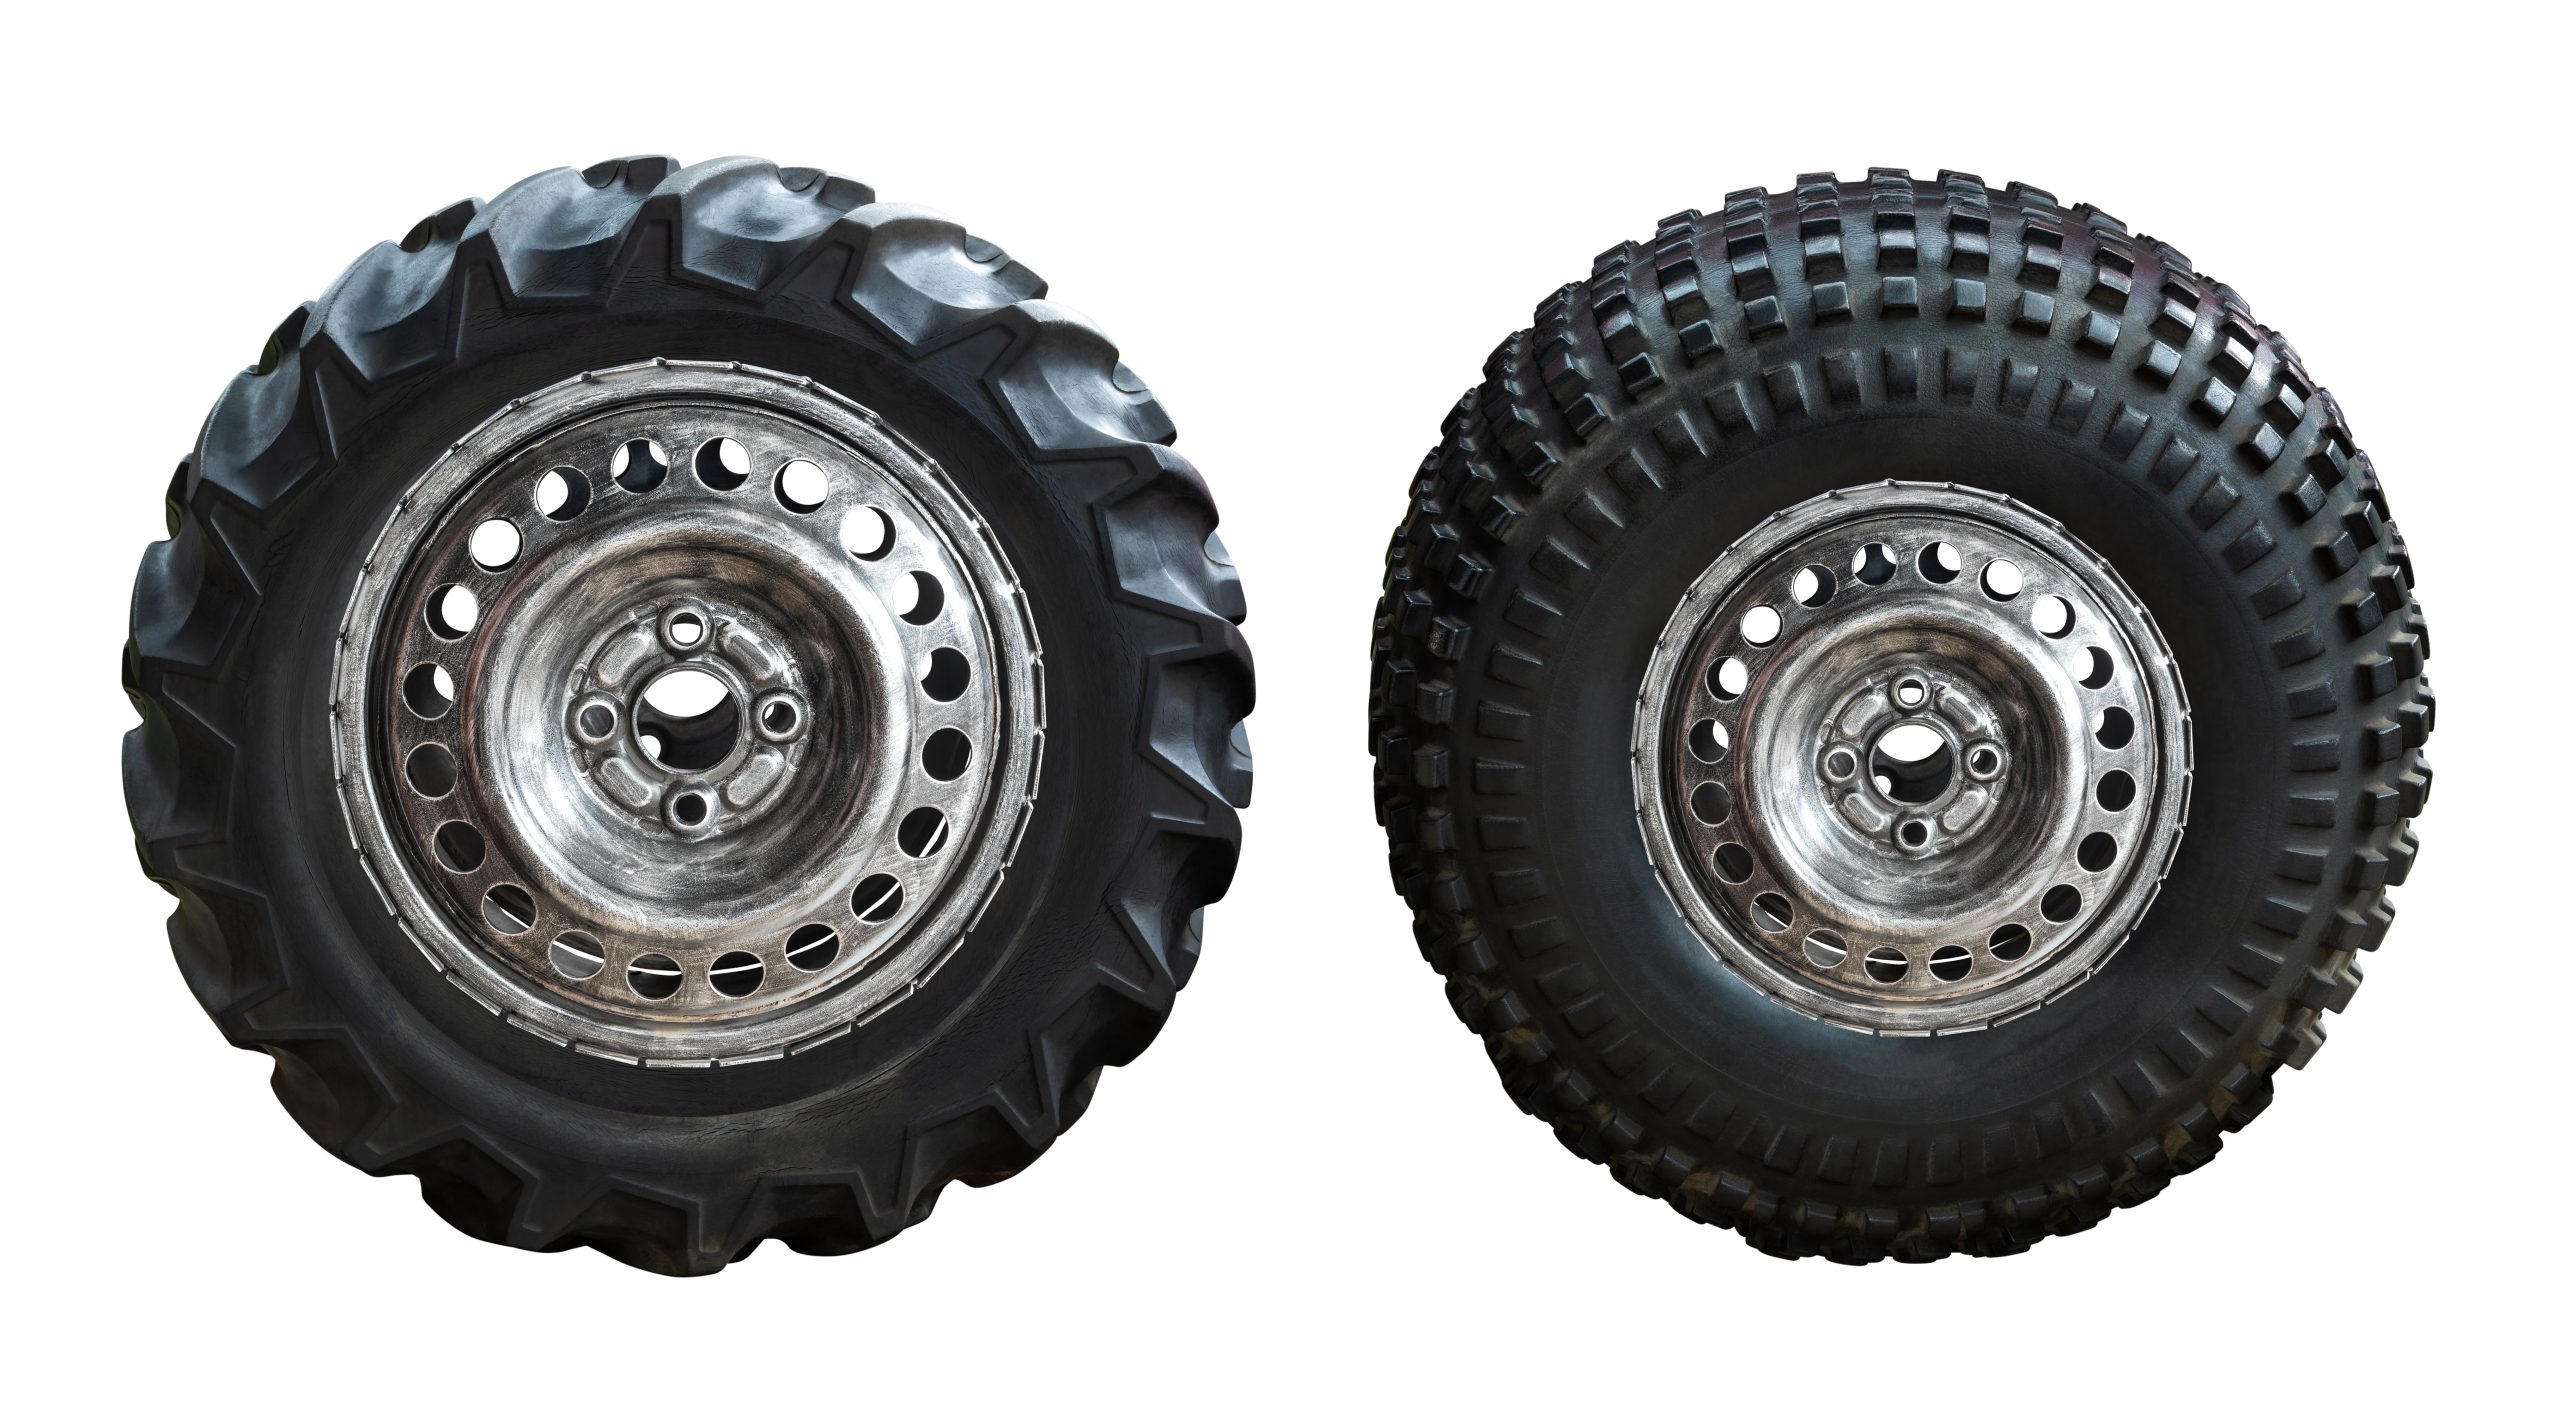
1. Tyres – the foundation of every 4x4 build
Tyres come first because they affect everything else: ground clearance, gearing, fuel consumption, and what suspension setup you’ll need later.
For most new 4WD owners, a good set of all-terrain (AT) tyres is the right starting point. ATs handle highway driving, gravel, and light sand without the noise and wear you get from mud-terrains (MTs). If you’re regularly hitting soft sand, deep mud, or serious rock, MTs are worth the trade-off – but they wear faster on bitumen and they’re noticeably louder on the freeway.
NSW legal limits to keep in mind:
- Maximum 50 mm increase in overall tyre diameter without engineering certification
- That 50 mm diameter increase adds 25 mm of ride height, counting toward the 75 mm total lift limit in NSW
- Go beyond 75 mm combined (suspension plus tyre) and you’ll need a licensed certifier to sign off
The practical reason tyres go first: your tyre size sets the rolling diameter that affects gearing and speedo accuracy. It also sets the baseline clearance your suspension needs to work around. Fit suspension first and change tyres later, and you may need to re-spec the whole setup.
Budget roughly $1,500 to $2,500 for a set of five quality all-terrains (including a full-size spare), depending on size and brand.
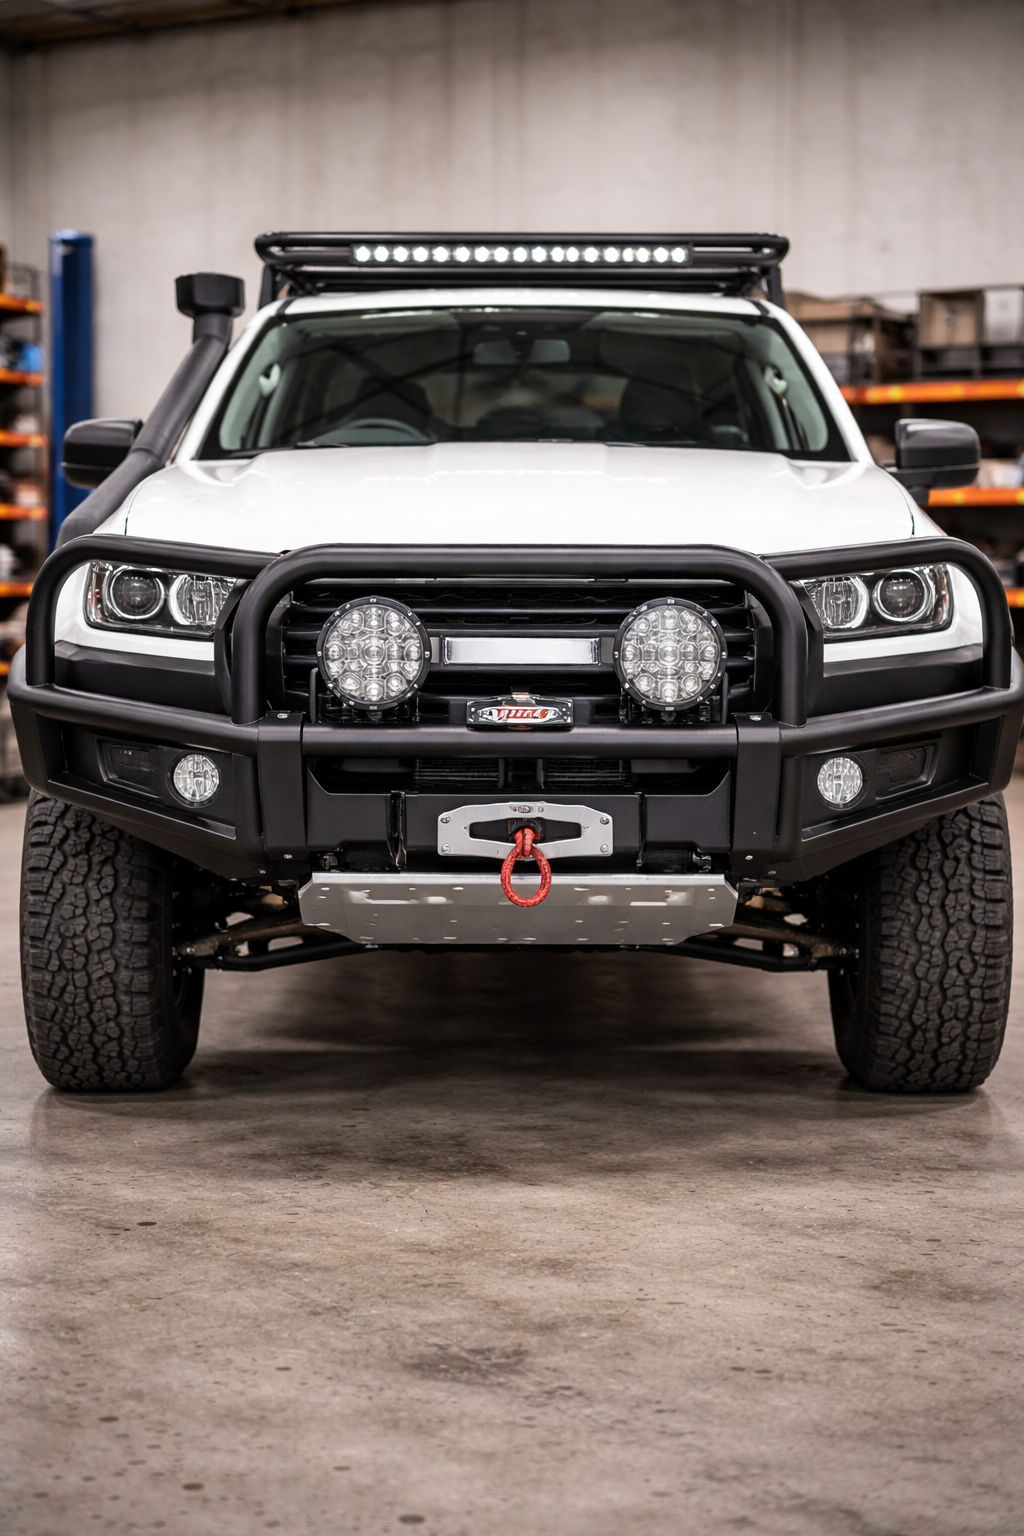
2. Bar work and protection – bull bar, bash plates, side steps
This is where the build starts to take shape. A steel bull bar adds serious front-end protection – something you’ll appreciate if you’re driving Northern Beaches backroads at dusk or heading further up the coast. Bash plates protect your sump, transfer case, and transmission from rocks underneath. Side steps make access easier and protect your sills on tight tracks.
Here’s the key reason bar work comes second, before suspension: weight. A steel bull bar alone typically adds 40 to 80 kg to the front of your vehicle. Add bash plates and side steps and you could be looking at 80 to 120 kg of extra weight total. If you fit suspension before the bar work goes on, your springs won’t be rated for that load. The front end will sag, the ride will feel soft, and you’ll end up back in the workshop re-doing suspension to compensate.
Fit the heavy stuff first. Then spec your suspension to match.
Typical budget:
- Steel bull bar fitted: $2,000–$5,000 (aluminium is lighter but usually more expensive)
- Bash plates: $300–$800
- Side steps: $400–$1,000
3. Electrical – dual battery, UHF, and lighting
With the bull bar fitted, this is the right time to run your electrical upgrades. Wiring a dual battery system, UHF radio, and auxiliary lights is much easier when you can route cables cleanly through the engine bay alongside the bull bar wiring.
- Dual battery system – keeps your fridge, camp lights, and accessories running overnight without draining your starter battery. Not optional if you’re planning overnighters. Budget $800–$2,000 depending on lithium vs AGM.
- UHF radio – essential for convoy communication and reaching help where there’s no mobile reception. A mounted unit with an external antenna gives far better range than a handheld. Budget $250–$600.
- Auxiliary driving lights – make a genuine difference on unsealed roads at night. They mount straight to the bull bar. Budget $300–$1,500.
Do the electrical work now while the engine bay is already being accessed. Doing it later often means pulling apart work that’s already done.
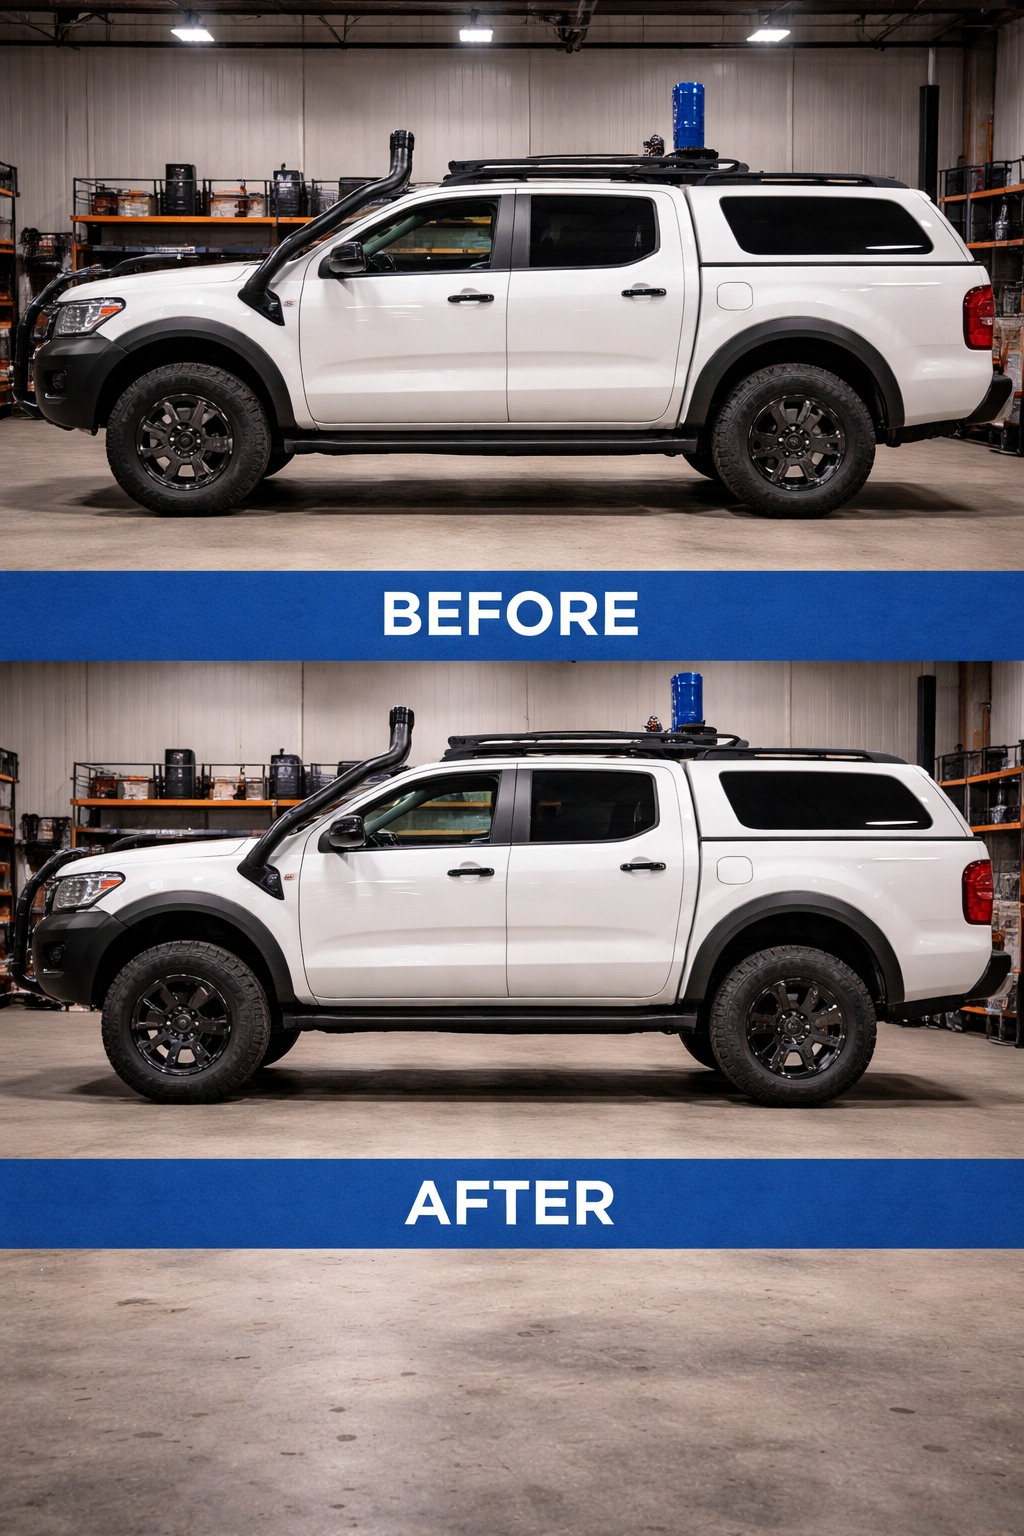
4. Suspension – matched to your real loaded weight
This is the mod most people want to do first. A lift changes the look of a 4WD more than almost anything else. But there’s a good reason it sits at number four.
Suspension springs are rated for a specific weight range. Fit them on a stock vehicle and then add 80 to 120 kg of bar work plus a dual battery system, and the springs will be overloaded. They’ll sag, the ride will deteriorate, and you’ll be back in the workshop paying for a second setup. It’s one of the most common mistakes in 4WD builds.
By fitting suspension after your heavy accessories are on, we can match the spring rate to the vehicle’s real loaded weight. That means a better ride, correct ride height, and springs that won’t sag six months down the track.
A 2-inch (50 mm) suspension lift is the sweet spot for most touring builds. In NSW, that’s the maximum you can run without engineering certification when combined with a 25 mm tyre increase. It gives you better approach and departure angles, improved clearance, and the ability to carry load without bottoming out.
Getting this right matters more than people think. Suspension isn’t just about height – it changes the way your 4WD handles, the way your tyres wear, and the way the vehicle responds under load. If you’ve spent time on our blog, you’ll have seen us cover how handling changes after a suspension upgrade and why tyres can wear unevenly after a lift. Both come back to the same point: the setup has to suit the vehicle and the way you use it.
Budget roughly $2,000 to $5,000 for a quality suspension kit fitted, depending on vehicle, brand, and whether you need a full kit (springs, shocks, bushings) or a more basic setup.
5. GVM upgrade – making it all legal
If your 4WD is now carrying a bull bar, bash plates, dual battery, upgraded suspension, and all the camping gear you plan to take on a trip, there’s a fair chance you’re close to – or over – the factory Gross Vehicle Mass (GVM) limit.
GVM is the maximum your vehicle is legally allowed to weigh when fully loaded, including the vehicle itself, passengers, fuel, accessories, and cargo. Every accessory you’ve bolted on eats into that limit. Exceed it and three things happen:
- Your vehicle is technically unroadworthy
- Your insurance may be void in the event of a claim
- Police are increasingly weighing loaded 4WDs at roadside checks
A GVM upgrade involves fitting an approved suspension and braking kit that’s been tested and certified to handle a higher total weight. It’s done last because the certification is based on your vehicle as it sits – with all accessories fitted and the final loaded weight calculated.
One important note: most GVM upgrade kits include suspension components (springs, shocks, and sometimes brake upgrades). If you know from the start that your build will push past factory GVM, talk to your workshop early. In some cases it makes sense to combine the suspension upgrade and GVM upgrade into a single step, saving the cost of doing suspension twice. This is something we help customers plan at the consultation stage.
In NSW, a post-registration GVM upgrade needs to be inspected and certified by a licensed engineering signatory. The process involves fitting an approved kit, having the vehicle inspected, and receiving updated compliance documentation.
Budget roughly $2,500 to $6,000 for a GVM kit (parts only), plus $800 to $1,200 for engineering certification. We’ve written a detailed breakdown of what drives GVM upgrade costs on our blog if you want the full picture.
What this build looks like as a timeline
A rough total for a solid touring setup across all five stages sits somewhere between $10,000 and $22,000, depending on the vehicle, the brands you choose, and how far you take each modification. That range reflects reality – a HiLux build looks different to a 300 Series build.
The important thing is the sequence. Get the order right and each mod builds on the last. Get it wrong and you’ll end up paying for the same job twice.
If you’re planning a 4WD build and want to get it right from the start, book a build consultation at Xtreme 4x4 in Mona Vale. We’ll weigh your vehicle, talk through your plans, and map out a build sequence that fits your budget and your goals.